The how’s and why’s of ensuring safe, long-lasting performance from your CPAP machine and CPAP accessories
It probably makes sense that a machine that blows into your airways for hours at a time should be kept clean and tidy.
With proper cleaning and maintenance, the risk posed by CPAP machines and all those little corners in the tanks and tubes is minimal.
But how do you keep things clean and when do you need to do it?
Turns out that while machines might work a little differently depending on the type of PAP therapy prescribed, most are cleaned and maintained in a similar manner.
In this guide, we’ll break down the common tasks involved in CPAP machine maintenance, outline when you should do them, and provide some alternatives to manual cleaning to help you to stay on top of your CPAP maintenance routines.
Why Clean Your CPAP Machine?
There’s plenty of reasons to regularly clean your CPAP machine, parts, and accessories.
Your mask cushion sits against your face and rubs against your skin, so cleaning it will remove oils and debris and can greatly reduce the chance of skin irritation or blemishes.
Not to mention your mask cushion probably sits on the nightstand or headboard when not in use, so there’s all that dust, dander, and pet hair to potentially worry about.
You CPAP filter can collect all sorts of dust, dander, pet hair, and other unpleasant things as you sleep at night. So you’ll want to stay on top of keeping that clean as well. Even a simple dusting over a waste bin can make a huge difference in air quality and machine performance.
The water reservoir on humidifier units can also harbour gross surprises—especially if you never fully run out of water and just keep topping it off or don’t use distilled water as recommended by most manufacturers.
In short, regular cleaning helps to reduce health risks, ensures safe operation, and stops all the hidden corners on your mask, tubing, CPAP filters, and chambers from getting gross.
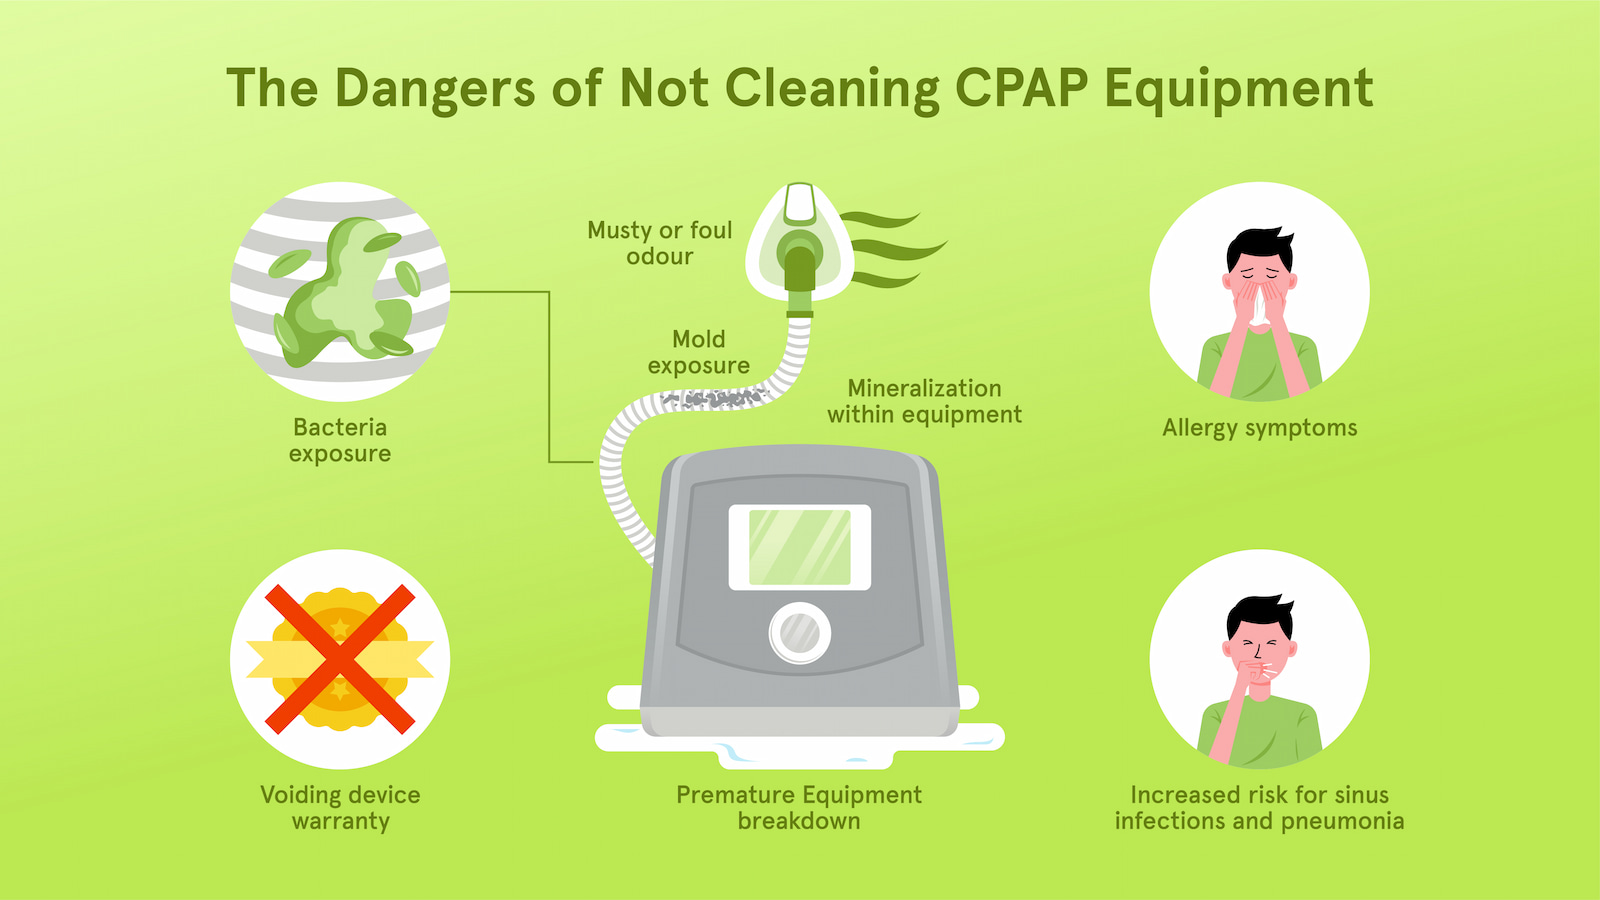
Failure to clean your CPAP machine may lead to:
- Weakened seals and diminished performance
- Mineralization and buildup within the equipment
- Bacteria, fungus, and mould exposure
- Aggravated allergy symptoms
- Sinus and throat irritation
- Musty or foul odours
- Premature equipment failure
- Voiding your manufacturer’s warranty
Manual Maintenance & Cleaning of Your CPAP Machine & Accessories
While the following lists might seem intimidating at first, most of the tasks are quick and simple.
In many cases, if you just add your cleaning and maintenance to your morning routine, you can get it done before your morning cup of coffee is done.
Better still, you never have to worry about being tired and ready to head to bed just to realize you hadn’t cleaned your machine yet.
Let’s face it, we’d all like to say we’d stop and push through long enough to clean things.
But there’s a good chance that we’d simply climb in bed, put on a dirty mask, top off yesterday’s water, and drift off to sleep.
That’s probably not a huge risk here and there, but it has a habit of adding up.
Days turn into weeks and, next thing you know, your CPAP machine looks like a science experiment and smells very unpleasant.
The following recommendations are simply a baseline based on the average person’s equipment and experience.
Always consult with your CPAP supplier or machine manufacturer if you’re unsure of the recommended maintenance schedule for your machine, parts, or accessories.
Daily Cleaning & Maintenance Tasks
- Empty your water chamber: Allowing water to stay in your humidifier tank encourages the growth of all sorts of things you don’t want to think about. Empty your tank every morning.
- Wash your cushion or any part of your mask that touches your face daily where possible: While daily might seem like overkill, daily cleaning means nothing has a chance to take hold in your CPAP mask or water chamber. As such, hot, soapy water is all you need to keep things tidy and free of mould, mildew, and other contaminants.
Cleaning your mask daily also ensures that any facial oils and dander are removed from the mask, allowing for a tighter seal and reducing the risk of skin irritation.
Avoid aromatic soaps or oil-based cleaners as they may linger on mask parts.
Be sure to remove your mask from its headgear and the surrounding fabric. Those items should be washed weekly (as listed below) for optimal service life. - Wash your water chamber: Be sure to use a soft cloth and avoid any aromatic soaps or oils. In most cases, a brief soak and a rinse under a steady stream of warm water is enough to keep things free from build-up or unpleasant odours.
- Once you’re done washing the parts, let them air dry. Air drying reduces the risk of reintroducing contaminants to your CPAP machine parts and also avoids leaving lint or other debris in hard-to-reach places in your mask.
Weekly Cleaning & Maintenance Tasks
- Unplug your CPAP machine and wipe down the outer casing of your CPAP machine with a moist cloth. If there is stubborn dirt or debris on the casing, using a mild soap may help
NEVER SUBMERGE YOUR CPAP MACHINE IN WATER
- Soak your tubing in mild soap and hot water, then rinse. If you notice build-up in the tubing, a baby bottle brush is often gentle enough to scrub things clean without hurting the tubing. However, shaking soapy water inside the tubing after a good soak is often all you’ll need.
- Inspect your tubing for tears, punctures, or cracks. Replace the tubing if you find any damage, as this can lead to improper pressure delivery and diminished PAP therapy benefits.
- Wash your headgear and fabric components. As with the other parts, warm water and a gentle scrub will usually do the trick. Be careful to avoid excessive heat though, as it can impact the fit of your headgear.
- Wash your reusable machine filter (if applicable). After rinsing the filter in warm water, allow the reusable machine filter to dry completely before reinserting it to avoid any mould or mildew concerns.
- Soak your humidifier water chamber in a diluted vinegar mixture. Soaking in a mixture of three-to-one water-to-vinegar will both further discourage bacteria and mould growth and provide a deodorizing benefit once the tank dries.
- Allow all parts to air dry to avoid collecting lint or other debris.
Monthly
- Replace your machine’s disposable filter (if applicable.)
- Inspect your mask, headgear, water tanks, and accessories for signs of wear. Replace damaged or compromised parts when possible.
Annually
- Have your machine’s pressure checked using a manometer. This service is typically available through home health care providers at little to no cost as part of your warranty service.
TIP: If you have recently been ill, consider cleaning your equipment more often to eliminate any lingering bacteria or viral load that might have found its way into your mask, tubing, or other CPAP components.
Products to Help You Clean You CPAP Machine & Accessories
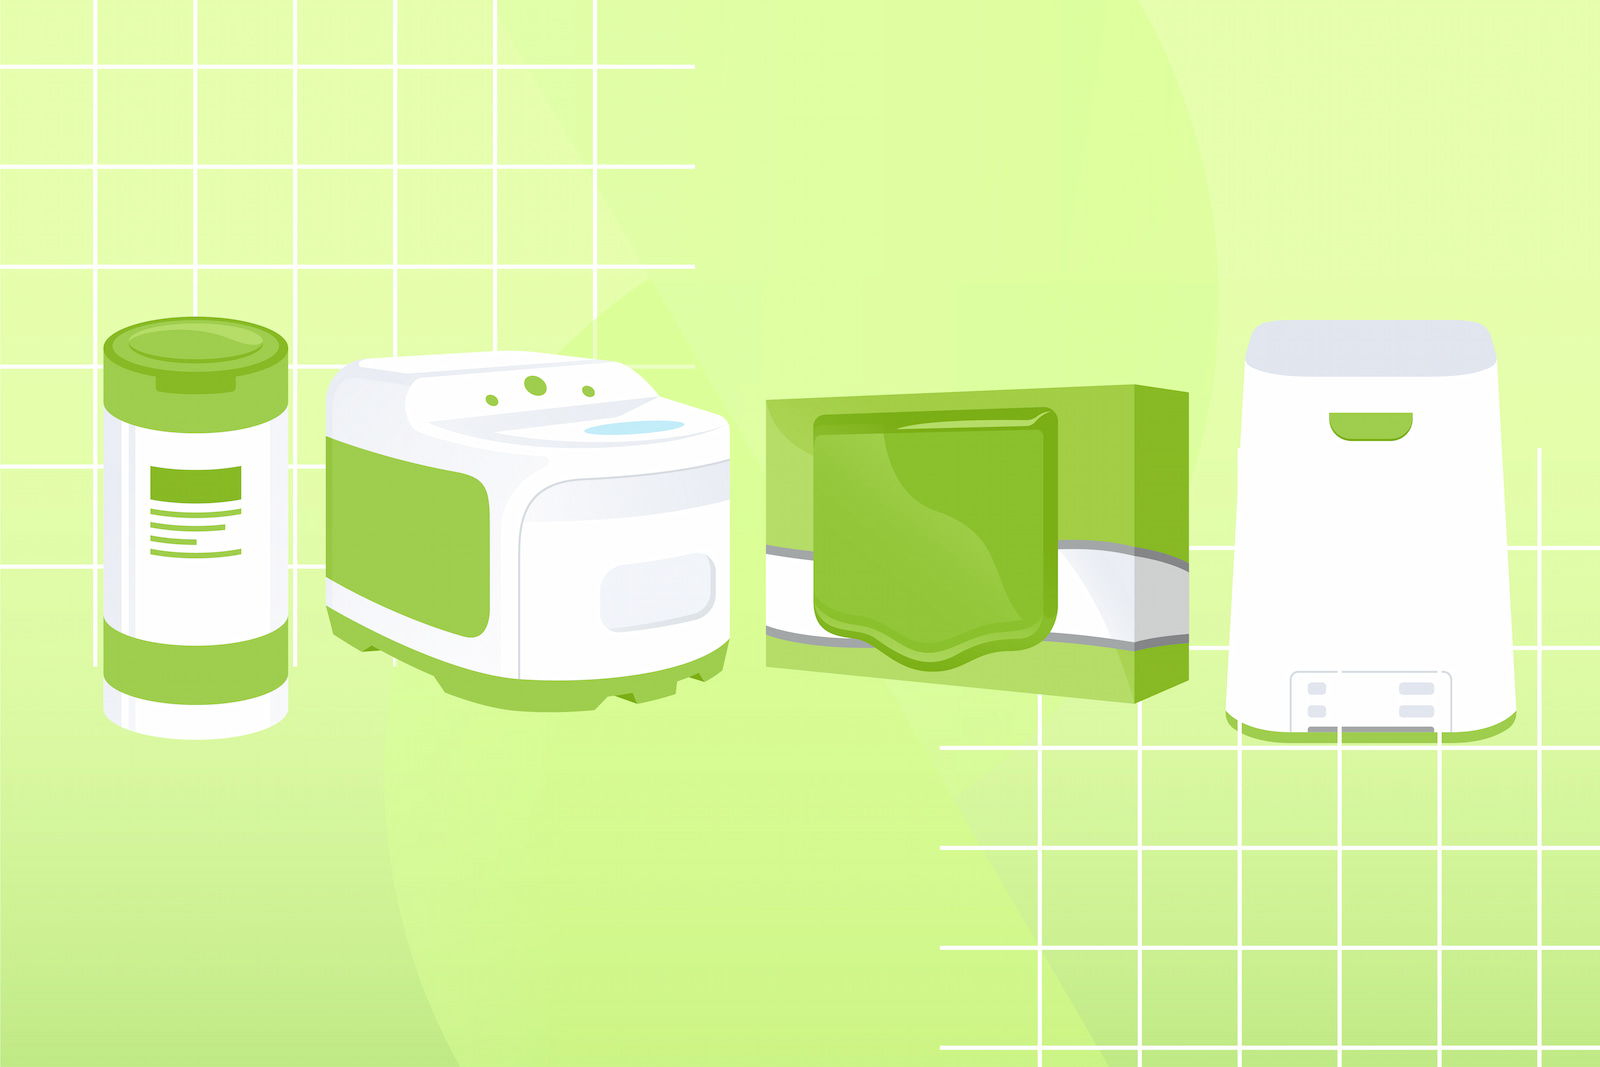
CPAP wipes are a convenient alternative when disassembly and cleaning in the sink isn’t possible—such as during illness, while travelling, or when life simply gets a little too hectic.
However, in most cases, these are intended solely for outer surfaces and your mask cushion.
Never use them on humidifier chambers.
Also, never attempt to run them through your CPAP tubing as they could become stuck, making retrieval difficult and possibly damaging your tubing in the process
Activated ozone systems—such as the So Clean 2—or ultraviolet light systems—such as the Lumin UVC Sanitizing System—are also available.
However, they’re more of a convenience than a requirement. They are no more or less effective than manual maintenance when performed properly. And you’ll still need to create a routine around using them regularly for the best results.
Unless you find cleaning your machine’s parts and accessories physically difficult, there’s a good chance that you already have most of what you need to care for your CPAP parts and accessories in your home!
With that said, we’ll leave it up to you as to whether the time and money saved is worth it to you.
CPAP Part Replacement
If you don’t mind paying out of pocket, you can replace your CPAP tubing, masks, headgear, or filters as often as you wish.
However, if you want to use your health coverage to help offset the cost of your CPAP therapy, you’ll need to adhere to their replacement schedules. Most insurance companies will pay for a new mask once a year and some will cover replacement parts every 3-6 months.
Consult your insurance provider for exact timings for parts in question, but the following intervals should serve as a reliable baseline for most people:
- CPAP Mask: For an optimal mask seal and for hygienic reasons, replace every 6 months.
- CPAP Filters (Washable): Replace every 4-6 months
- CPAP Filters (Disposable): Replace every 2 months (when dirty or gray)
- CPAP Tubing: Replace yearly or earlier if broken or worn out.
- CPAP Machine: As required. Assistance with machine replacement is available every 60 months or 5 years nationwide.
If you cannot afford replacement parts for your CPAP machine, consulting your local CPAP supplier, primary care provider, or sleep specialist may help to uncover resources in your area that can help.
Key Takeaways
- CPAP cleaning and maintenance is an essential part of ensuring your CPAP machine runs optimally and reducing the risk of illness, contamination, and equipment failure.
- In most cases, warm soapy water, a soft cloth, plenty of hot water, and a safe place to air dry your parts and components is all that’s needed to keep things squeaky clean.
- Cleaning frequency will vary by part with mask cushions, masks, and humidifier chambers benefiting from a daily soak and rinse.
- Tubes and disposable filters often require cleaning at least once a week.
- Inspect your equipment at least once a month to avoid any surprise part failure that could leave you without your CPAP therapy while replacement parts arrive.
- Ultraviolet and ozone cleaners might add convenience or make cleaning more accessible to those living with physical limitations, but they’re no more effective than manual cleaning—and substantially more expensive.
- Always keep track of your CPAP part replacement schedule to ensure you’re using reliable parts and getting the most from your therapy.
CPAP Supply is Canada’s leading online CPAP supply store in customer satisfaction. If you’re cleaning your CPAP parts and accessories and find you need something replaced, our comprehensive selection, affordable pricing, and personalized service make it easy to keep everything well maintained and running smoothly. Contact us today to discuss your needs and see how we can help you rest easier and feel better.
References
- Harvard Health: Can Your CPAP Make You Sick?
- American Sleep Apnea Association (ASAA): Care and Replacement of CPAP Equipment
- Verywell Health: CPAP Cleaning Tips: A Step-By-Step Maintenance Guide
- ResMed Australia: How Often Should I Be Cleaning My CPAP Equipment (Mask, Tubing and Machine)?
- ResMed US: How to Clean Your CPAP Equipment
- Alaska Sleep Clinic: CPAP Equipment Cleaning and Maintenance Best Practices
- Philips: Keeping It Clean: CPAP Hygiene
- Sleep.org: How to Clean Your CPAP Machine: Best Practices
- Quality Medical Group: CPAP Machine Maintenance: What To Tell Patients